Create an event
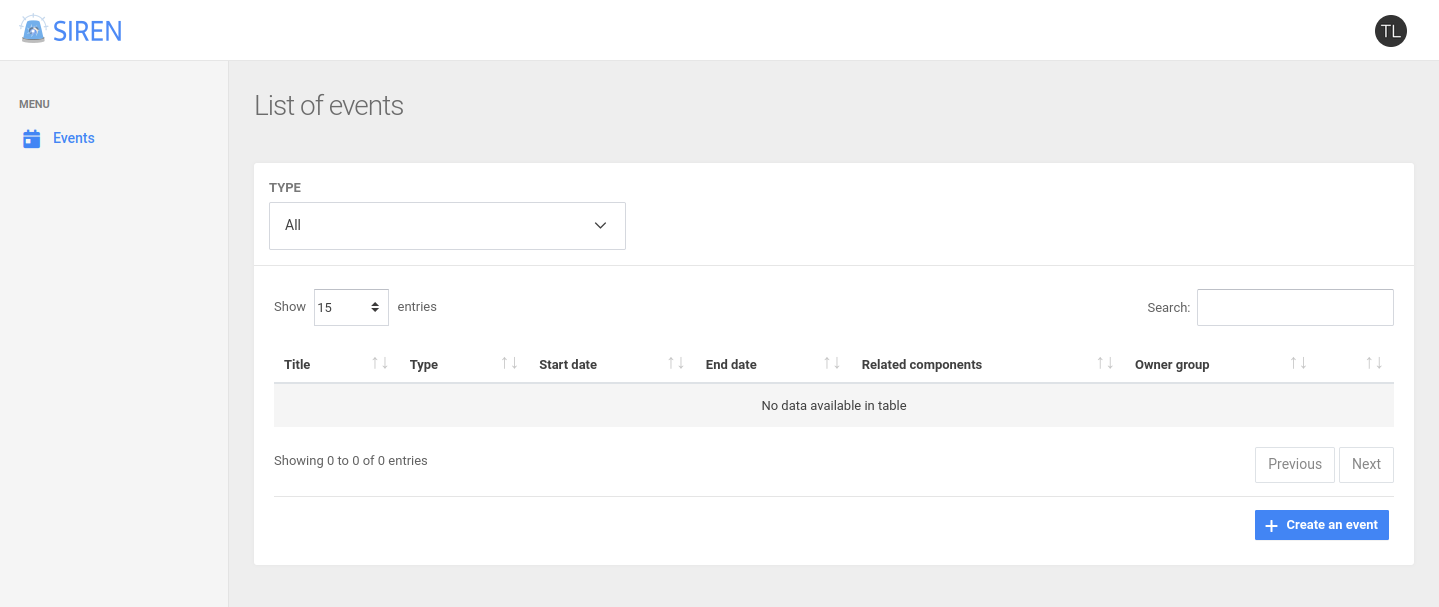
To create an event, click on the Create event button from the list of events.
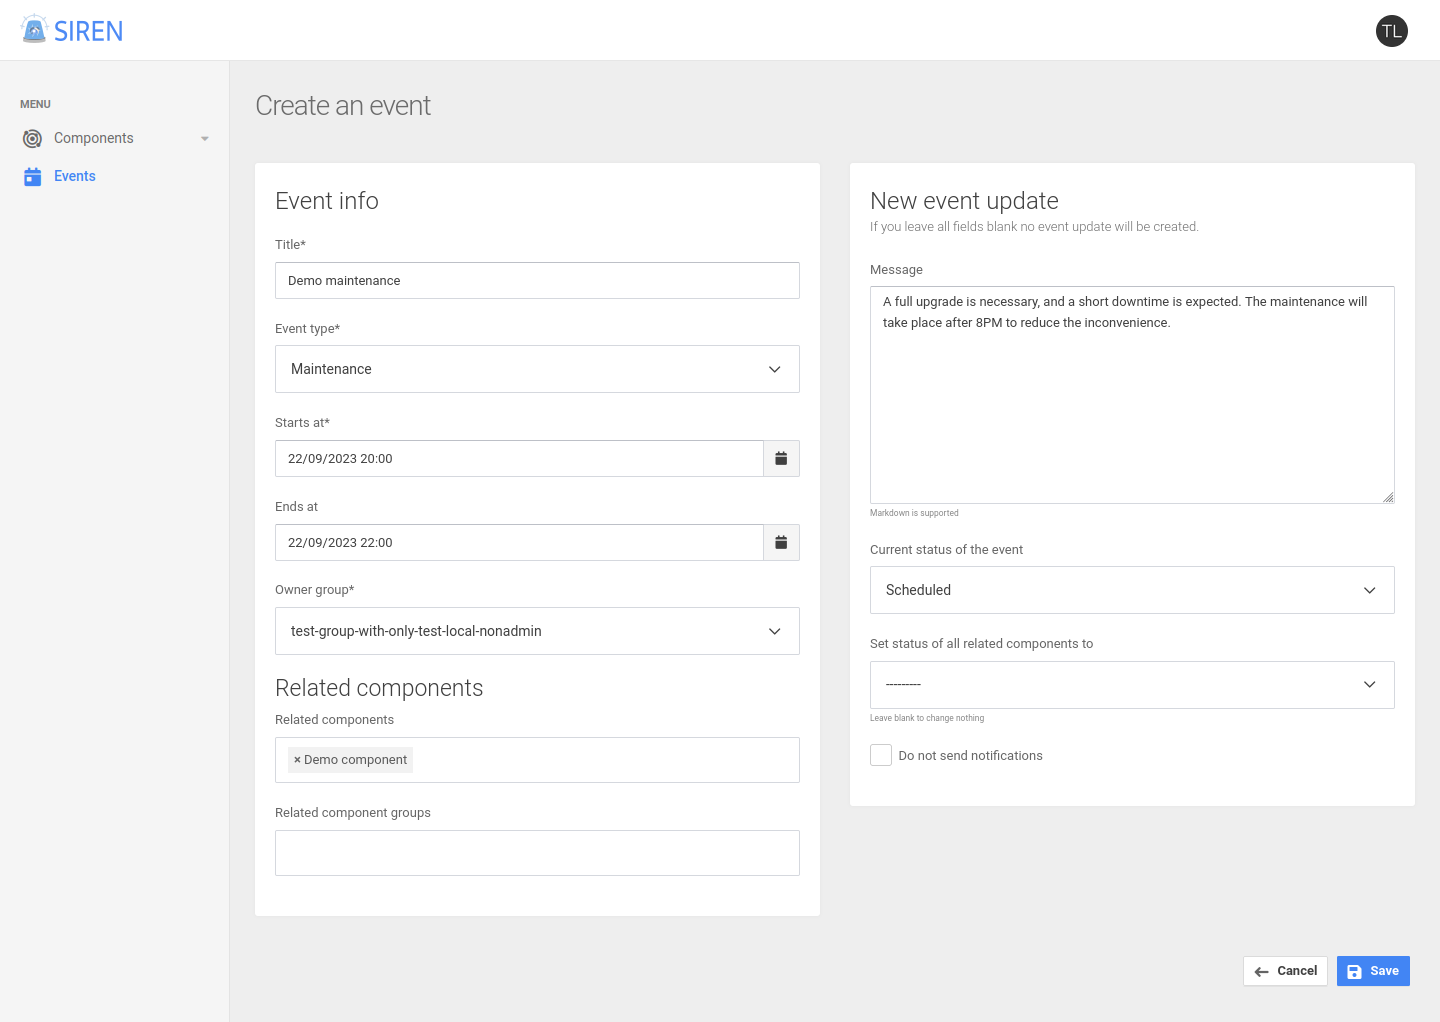
The creation form is separated into two section.
The first section on the left is about the general information of the event (title, type, etc). All those values can be edited and changed later. The Owner group field is about which users will be able to see and edit the event, necessarily a group that you, as the editor, are part of. The Related components section is about the components that are impacted by the event. In the first field you can select individual components, while in the second field you can select whole component groups (e.g., all databases).
The second section on the right allows you to create the initial event update. You can use it to add a description of the event in the message field, e.g., what will be done and what can go wrong (in case of a maintenance). This initial event update is also a way to set the current status of the event (probably Scheduled in case of a maintenance, or Investigating in case of an incident). The third field can be used to globally change the status of all components related to this event (that were specified on the left panel before). This can be used in the case of an incident that has caused availability issues, to set all impacted componets to Partial or Major Outage for instance. However, it can be left blank to leave the components’ status unchanged. Finally, one can choose to make the update silent (i.e., not send notifications), but the notification system is not implemented yet so this is has no effect at the moment.
Update an event
Additionnal updates to the event can be added with the button Update event.
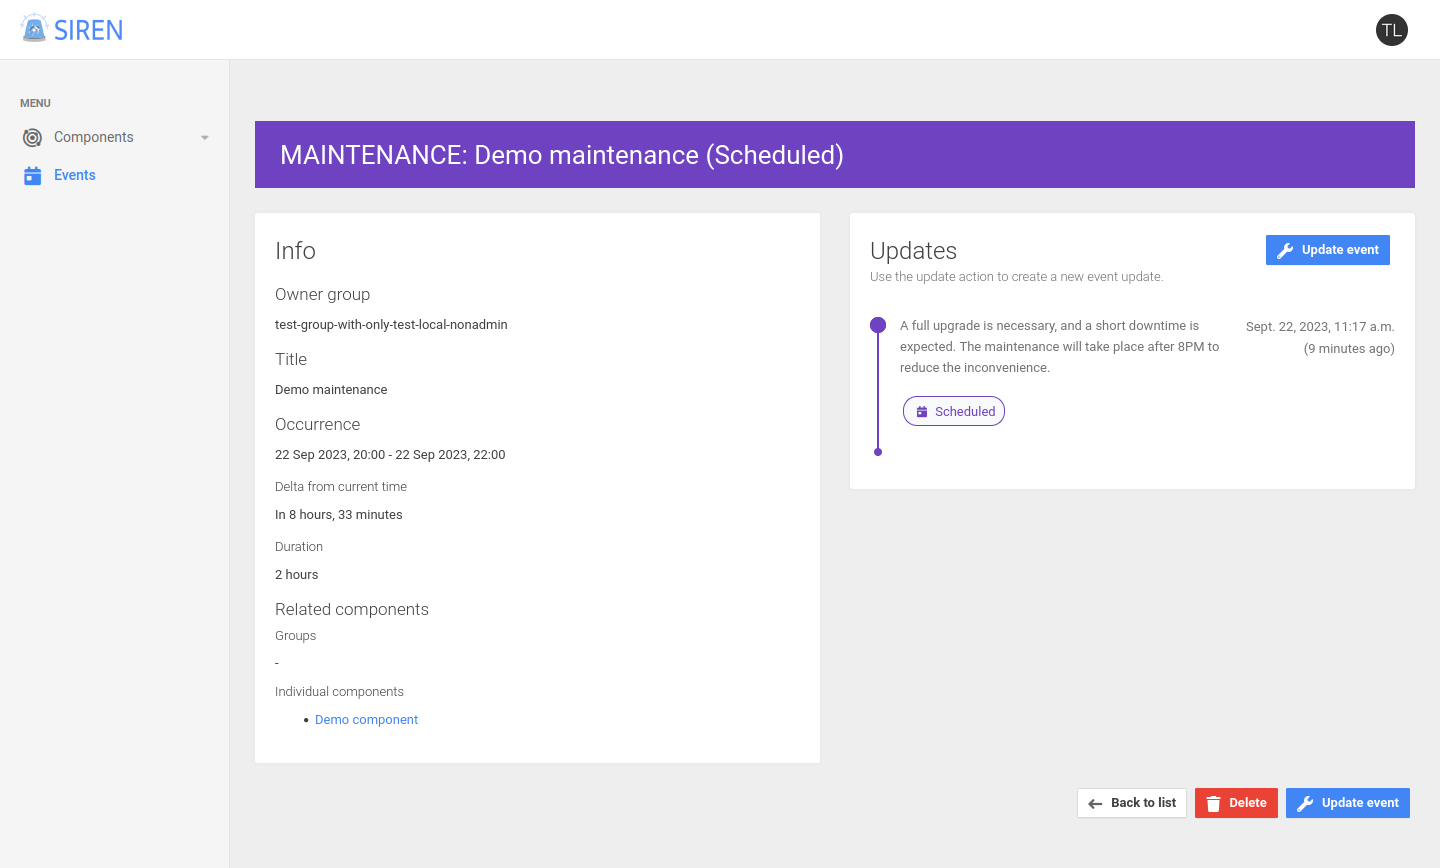
The update form is identical to the create form. Adding a new update is useful to communicate about the evolution of the event, and can be done using the panel on the right, just like the initial event update. Reasons for creating an event update can be the effective start of a scheduled maintenance, an unexpected problem encountered, or also its trouble-free end at the expected time. Just like for the initial update, you will have to give it a message, and possibly new status for the event (or by default the previous status if no change of status has occurred). You can also like before trigger a bulk change of status to all related components, e.g., to set every component to the In maintenance status at the start of the maintenance, and to remove it at the end.
If Finished or Resolved is chosen as new status for the event, a pop up offers to change the end date of the event to the current moment. Once an event has ended, it will not be shown on the related pages anymore (or more precisely only in the “last 7 days events” collapsed section at the end of the page).
If you do not wish to add a new event update, and only want to edit the basic information about the event (like the end date if it will take longer than expected), then you can leave the right panel untouched and no event update will be created.